Crimson Moon Best Boons
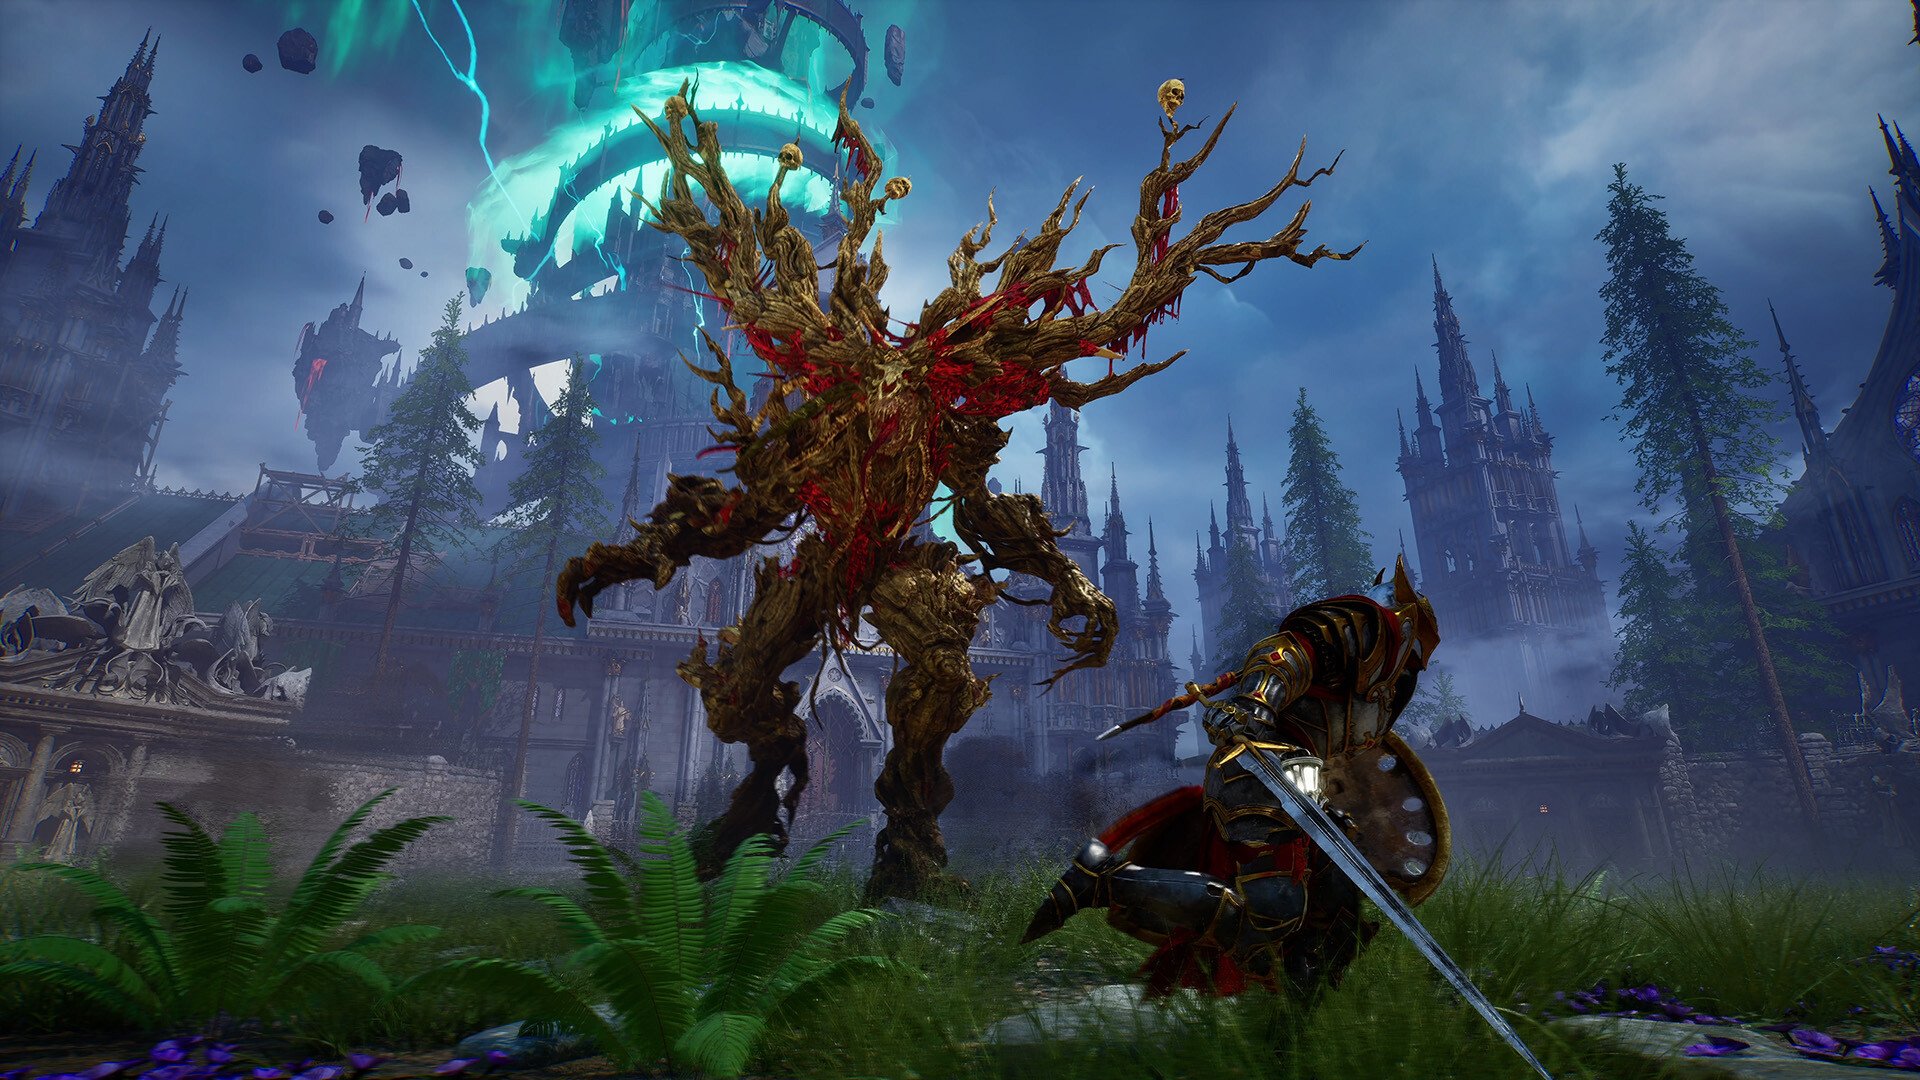
Boons are passive effects in Crimson Moon that modify attacks, status effects, resources, survivability, Weapon Arts, Angel Ascension, parrying, blocking, and other parts of combat. Some provide simple bonuses, while others completely change what happens when you perform a specific action.
The best Boons are generally the ones that either provide a strong benefit with very little setup or directly improve something you're already using frequently. Rather than treating every Boon equally, I would prioritize effects that you can activate consistently throughout an entire Hunt.
Jump To Section:
How Boons Work
Best Boons
Best Damage Boons
Best Status Boons
Best Parry Boons
Best Angel Ascension Boons
Best Rage Boons
Best Survival Boons
Best Utility Boons
How to Choose Boons
How Boons Work in Crimson Moon
Boons modify different parts of your character during Crimson Moon's Hunts. Their effects can increase damage, apply status effects, restore Health or Mana, improve Stamina, strengthen Weapon Arts, enhance Angel Ascension, or reward specific actions such as Light Attacks, Heavy Attacks, Sprint Attacks, blocking, and parrying.
Some trinkets can also grant specific Boons, meaning the effects available to you are closely tied to the equipment you find and use. This makes Boons much more important than a traditional list of passive stat bonuses because many directly change what your attacks and defensive actions do.
If you're looking for complete setups rather than individual effects, my Crimson Moon best builds guide covers that separately. This guide is focused specifically on which Boons are worth paying attention to.
Best Boons in Crimson Moon
Several Boons stand out because they provide strong effects without requiring particularly complicated conditions. Frostbound Charge, for example, applies 1,000 Frost whenever a Sprint Attack hits, while Sanguine Charge does the same with 1,000 Bleed.
Graceful Strike is another standout because Light Attacks against Marked enemies recover Angelic Grace, directly helping you reach Angel Ascension more often. Last Light is one of the strongest defensive options, restoring 1% of your Health every second while you're at or below 40% Health.
Other Boons I would immediately pay attention to include Oathbound Arts for +20% Elemental Damage, Sundering Strikes for a 50% chance to apply Sunderance with Light Attacks, Reaper's Respite for Health recovery on kills, and Soulbound Might or Soulbound Sorcery for damage scaling based on Souls held.
Best Damage Boons
Crusader's Might is one of the simplest offensive Boons, adding +20 Physical Damage to attacks. Oathbound Arts provides a broader +20% Elemental Damage bonus, making it especially valuable when your damage is heavily dependent on Frost, Fire, Poison, or other elemental effects.
Soulbound Might provides +5% Physical Damage for every 1,000 Souls you're carrying, up to a maximum of +50%. Soulbound Sorcery does the same for Elemental Damage. These can become extremely strong if you're comfortable carrying a large amount of Souls without losing them.
Relentless Momentum increases Sprint Attack damage by 20%, while Angelic Strength gives Weapon Attacks +20% Bonus Attack Power during Angel Ascension. Vivisection is much more specialized but provides +30% Riposte Damage, which can be valuable if you're consistently creating riposte opportunities.
The important distinction is reliability. Crusader's Might is always doing something, whereas something like Soulbound Might can eventually become much stronger but requires you to maintain the Souls needed to power it.
Best Status Boons
Status Boons are some of the most immediately noticeable because they directly attach Frost, Bleed, Poison, Burning, or Sunderance to attacks you're already performing.
Frostbound Charge applies 1,000 Frost from Sprint Attacks, while Judgment of Winter applies 350 Frost from Heavy Attacks and Frozen Vow adds 200 Frost to Light Attacks. Frostbrand Seal can also apply 1,000 Frost from a successful parry.
Bleed has several similarly strong options. Sanguine Strike applies 250 Bleed from Light Attacks, Sanguine Slam applies 500 Bleed from Heavy Attacks, Crimson Smite applies 750 Bleed from Charged Heavy Attacks, and Sanguine Charge applies 1,000 Bleed from Sprint Attacks.
For Poison, Toxic Strike applies 250 Poison with Light Attacks, while Cleansing Pestilence gives Heavy Attacks a 30% chance to inflict Poison and also adds +35 Poison to Poison attacks. Seal of Blight applies Poison whenever you successfully parry.
Burning has an even wider selection. Trial By Flame gives attacks a 25% chance to inflict Burning, Scorching Verdict gives Heavy Attacks a 75% chance, Scorching Charge adds Burning to Sprint Attacks, and Pyromancer causes Weapon Art hits to inflict Burning.
Sundering Strikes is also worth highlighting because Light Attacks have a 50% chance to apply Sunderance. Scourge of the Unfaithful instead applies Sunderance to enemies within seven meters whenever you kill an enemy.
Best Parry Boons
Parry Boons are extremely strong if you're comfortable with Crimson Moon's timing because they turn a successful defensive action into additional damage or status application.
Frostbrand Seal applies 1,000 Frost whenever you parry. Seal of Flame applies two stacks of Burning, Seal of Blight applies Poison, and Crushing Rebuke deals 150 Physical Damage to the enemy.
Resounding Flames affects more than the original target by causing enemies within seven meters to suffer Burning after a parry. Shield of Many instead pushes nearby enemies away, although it has a 10-second cooldown.
I wouldn't prioritize these if you're rarely landing parries, because their value depends entirely on activation frequency. If the timing is giving you trouble, my Crimson Moon how to parry and Perfect Parry timing guide covers the controls and the earlier-than-expected timing.
Best Angel Ascension Boons
Several Boons either strengthen Angel Ascension directly or help you generate Angelic Grace faster.
Angelic Strength increases Weapon Attack power by 20% while Angel Ascension is active. Guardian Angel creates a zone when you enter Angel Ascension that gives players inside 30% Resistance to all damage, making it especially useful in co-op.
On a Pale Horse causes nearby enemies to become Poisoned when you enter Angel Ascension and makes Weapon Attacks during the transformation apply 250 Poison.
Font of Light increases Angelic Grace recovery by 15%, while Graceful Strike recovers 1 Angelic Grace whenever you hit a Marked enemy with a Light Attack. Divine Endurance doubles Angelic Grace Recovery while your Health is at or below 40%.
Divine Reprieve is another useful option because killing at least three enemies during Angel Ascension restores a Health Flask when you exit the transformation.
Best Rage Boons
Rage Boons are split between effects that generate Rage and effects that improve what happens once you're Enraged.
Sanctified Rhythm gives Light Attacks a 25% chance to grant Rage. Momentum Charge grants two Rage stacks when a Sprint Attack lands, while Rising Tempo grants Rage after hitting the same target three times within three seconds.
Trial of the Fallen grants Rage whenever you kill an enemy, and Frenzy grants Rage after killing an Elite. Flow of Combat instead generates Rage through Weapon Art damage.
Once you're Enraged, Enduring Rage increases the duration by 25%, while Hardened Fury gives you 20% bonus resistance to all damage types. Blessed Momentum also causes Light Attacks while Enraged to generate additional Rage.
Best Survival Boons
Last Light is one of the strongest pure survival Boons because it restores 1% of your Health every second while you're at or below 40% Health. It doesn't require you to land attacks or kill enemies, which makes it particularly useful when a fight starts going badly.
Reaper's Respite provides more aggressive sustain by restoring 15 Health whenever you kill an enemy. Executioner's Reward restores 30 Health instead when the kill comes from a Weapon Art.
Last Bastion gives +40 Physical Defenses while below 40% Health, while Second Wind doubles Stamina Recovery at the same threshold. Radiant Fortitude simply provides +50 Max Health, which is less flashy but useful in virtually every situation.
Strong Brew is also extremely valuable if you depend heavily on your Flasks because it doubles Health and Mana Flask restoration effects on your character.
Best Utility and Resource Boons
Some of Crimson Moon's most useful Boons don't directly increase damage at all. Enduring Vow provides +15 Max Stamina, while Divine Reservoir adds +50 Max Mana.
Brewmaster gives you one additional maximum Potion. Chalice of Conquest can restore a Health Flask after eight hits once you've completely run out of Health Flasks, potentially giving you another recovery opportunity late in a difficult encounter.
Martyr's Gift restores Mana equal to 25% of the damage you take. Vigorous Strikes restores 10 Stamina whenever you land a Heavy Attack, while Resounding Charge restores 25 Stamina from Sprint Attacks.
Oathsworn Return is particularly unusual because accepting it immediately restores one Life to your Life Pool. In a run where your remaining lives are becoming the limiting factor, that can be more valuable than another damage increase.
Co-op players should also watch for Templar Revive, which grants +50% Damage Resistance and +50% Poise Damage Resistance while reviving an ally. My broader Crimson Moon co-op guide covers how the shared Life Pool and two-player multiplayer systems work.
How to Choose the Best Boon
I would start by asking how often the Boon's condition is actually going to happen. A bonus tied to Light Attacks is extremely easy to use if you're constantly attacking with them. A powerful parry effect can be much worse if you dodge almost everything instead.
The same applies to conditional defensive effects. Last Light, Second Wind, Divine Endurance, and Last Bastion are excellent when you're below 40% Health, but they aren't doing anything while you're healthy. Compare that with Radiant Fortitude or Enduring Vow, which provide their benefits constantly.
You should also distinguish between Boons that create an effect and Boons that only improve one. Purging Fire's +35 Fire Effect power is much more useful if you're already regularly applying Burning. Oathbound Arts becomes more valuable when a significant portion of your damage is elemental. Enduring Rage obviously matters more when you're consistently becoming Enraged.
For a new player, I would generally favor straightforward Boons with conditions you already activate naturally. Once you're more comfortable with the combat system, the specialized effects become much easier to exploit.
If you're still learning the Hunt loop, equipment, purification, and progression systems surrounding these choices, my Crimson Moon tips and tricks beginner guide covers those systems separately.
What Are the Best Boons in Crimson Moon?
The best Crimson Moon Boons depend heavily on what actions you're actually using, but Frostbound Charge, Graceful Strike, Sanguine Strike, Oathbound Arts, Sundering Strikes, Last Light, Reaper's Respite, and several of the Angel Ascension and parry effects are among the most useful options to watch for.
More importantly, don't automatically choose a Boon because its effect sounds powerful in isolation. Prioritize effects you can trigger consistently, especially ones tied to attacks, defensive actions, resources, or status effects you're already using throughout the Hunt.