Hellraiser Revival How to Beat Bruno Fight
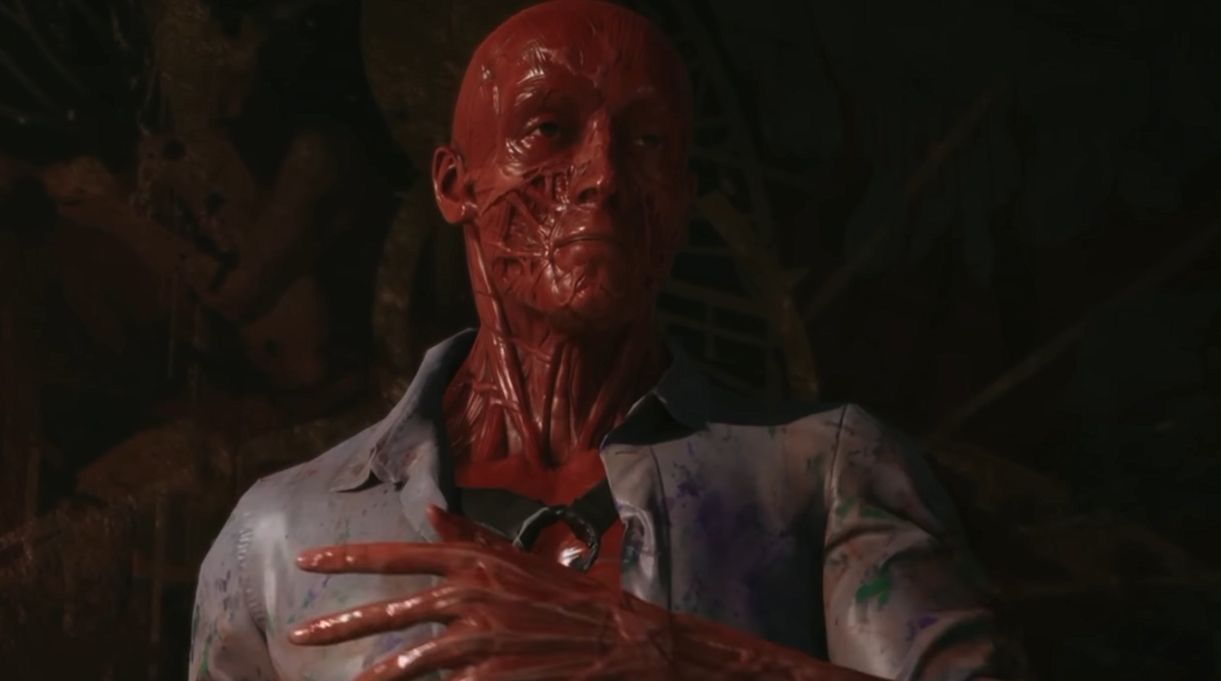
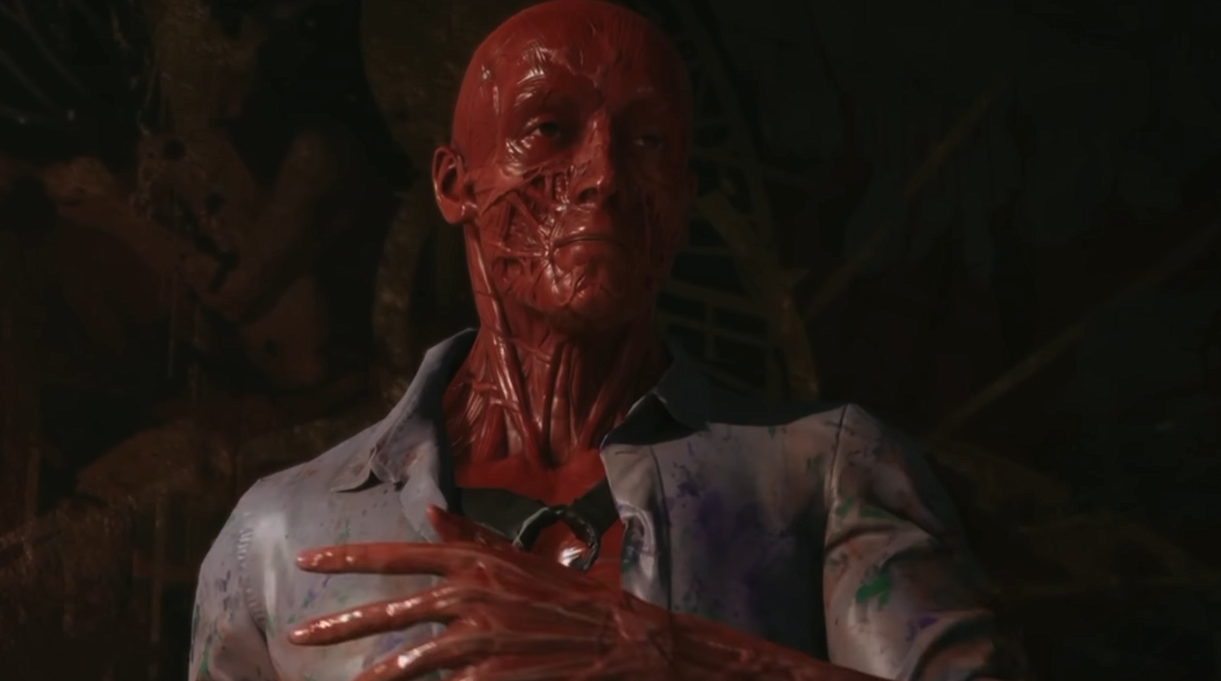
Bruno is one of the most durable bosses in Hellraiser: Revival, and fighting him becomes particularly dangerous when he gets close enough to grab you. You'll encounter him twice during the campaign, but both fights rely on recognizing his attacks and knowing when to deal damage. The biggest difference is how you use the surrounding arena, especially when Bruno turns into a moving pool of blood.
Jump To Section:
How to Beat Bruno
How to Counter Bruno's Attacks
First Bruno Boss Fight
Second Bruno Boss Fight
What to Do if You Keep Dying
Bruno Rewards and Achievements
How to Beat Bruno in Hellraiser Revival
To beat Bruno in Hellraiser: Revival, damage him with firearms, melee weapons, and throwable objects while avoiding his grab attacks. When he transforms into blood, keep moving until he returns to his normal form. Once Bruno flashes blue, approach him and use the Genesis Configuration to banish him.
The safest strategy is to deal damage in short bursts rather than attacking continuously. Bruno can grab you while taking damage, so landing another melee hit isn't worth getting caught in one of his attacks.
Best Damage: Shotgun at close range
Best for Saving Ammo: Throwable objects and melee weapons
Main Danger: Close-range grabs
Defensive Priority: Keep moving during blood transformations
How to Finish: Banish Bruno when he flashes blue
You fight Bruno in two different locations during the story. The first encounter has very little room to maneuver, while the second gives you more space and additional offensive options.
How to Counter Bruno's Attacks
Bruno has a few attacks responsible for most of the damage you'll take. Learning how to respond to each one makes both encounters considerably more manageable.
Bruno Rushes Toward You
Dodge to the side instead of retreating directly backward. Use the opening to reposition before attacking again.
Bruno Attempts a Grab
Avoid staying within melee range after landing a hit. If grabbed, rapidly press R2/RT to escape.
Bruno Turns Into a Blood Puddle
Stop attacking and move around nearby obstacles. Wait until he returns to his normal form.
Bruno Starts Flashing Blue
He's ready to be banished. Approach him and perform the Genesis Configuration finisher.
The blood puddle attack deserves the most attention. Bruno moves along the floor toward your position, and getting caught can result in substantial damage. He also cannot be damaged during this transformation.
Instead of running in a straight line, use obstacles to force him to change direction. His movement is more predictable when you're circling furniture or other structures rather than trying to outrun him across an open floor.
Once he reforms, don't immediately rush toward him. Establish some distance, wait for a safe attack opportunity, and return to dealing damage.
Best Strategy for the First Bruno Boss Fight
The first Bruno fight takes place in the basement of his mansion while searching for the statue's missing part. You'll encounter him after interacting with the mask near the elevator, so you have an opportunity to prepare before triggering the fight.
The arena is small, which makes avoiding his grabs more difficult. I would focus on preparing the room and preserving enough ammunition to finish the fight quickly once his health gets low.
Before Starting the Fight
1. Collect ammunition and healing supplies from the basement.
2. Keep spare melee weapons available in case your current weapon breaks.
3. Destroy bottles around the arena to prevent Bruno from using them against you.
4. Make sure you're ready before interacting with the mask.
Once the fight begins, the central table is your biggest advantage. Use it to separate yourself from Bruno whenever he approaches, particularly during his blood transformation.
Start by using throwable objects when possible, then take short melee opportunities between his attacks. Limit yourself to one or two swings before dodging away, since Bruno does not reliably stagger when hit.
As the fight continues, cultist reinforcements can enter the arena. Eliminate them as soon as possible rather than letting additional enemies surround you while Bruno is approaching.
Save some shotgun ammunition for the later part of the encounter. The shotgun deals significant damage at close range, making it useful for shortening the fight once you've already weakened Bruno with other weapons.
When he starts flashing blue, approach and banish him. You don't need to keep shooting after the finishing prompt becomes available.
How to Beat Bruno the Second Time
Bruno returns later in the campaign while you're pursuing Marlowe. By this point, you'll have access to stronger firearms and Hellchains, allowing you to approach the fight much more aggressively than your first encounter.
The rematch takes place across two connected areas. Your goal is still to reduce Bruno's health, but this time fire damage and temporary restraints are particularly useful.
Recommended Weapons and Abilities
Shotgun: Reliable high damage when Bruno is close.
Dragon Breath Ammo: Applies fire damage and works well against Bruno.
Hellchains: Restrains Bruno temporarily, creating an opportunity to attack.
Fire Barrels: Environmental damage that can help conserve ammunition.
In the opening area, try to deal as much damage as possible while Bruno is still approaching. Trigger nearby fire barrels when he's close enough to take damage, and use Hellchains to create opportunities for shotgun attacks.
At approximately half health, Bruno retreats through an opening in the wall. This isn't the end of the battle. You'll need to follow him into the next area to finish it.
Before following him, reload your weapons, heal if necessary, and collect any remaining supplies. There's no benefit to entering the next section unprepared.
The second area is considerably larger, giving you more freedom to reposition. Use that extra room to avoid Bruno's attacks and look for throwable objects that can supplement your ammunition.
Bruno becomes more aggressive as his health decreases, including additional attempts to catch you with his blood puddle attack. Continue moving, attack after he returns to normal, and use your remaining ammunition to bring him into his blue finishing state.
Once he's vulnerable, banish him to finish the encounter.
What to Do if You Keep Dying to Bruno
If Bruno keeps killing you, the problem is usually positioning or trying to land too many attacks before retreating. He has enough health that attempting to overpower him without dodging will drain your healing supplies quickly.
Here's what I would change depending on what's causing trouble.
Keep Getting Grabbed?
Attack fewer times before dodging. Don't assume Bruno will be interrupted just because you're hitting him.
Can't Escape the Blood Puddle?
Circle the central table in the first fight or use the larger arena in the rematch. Avoid running directly backward.
Running Out of Ammo?
Use throwable objects and melee weapons earlier in the fight. Reserve shotgun ammunition for moments when you can land reliable hits.
Melee Weapon Keeps Breaking?
Bring spare weapons into the first arena before triggering the encounter.
Getting Overwhelmed by Enemies?
Clear reinforcements before continuing to focus on Bruno.
For the first fight, I'd prioritize surviving over dealing damage quickly. The small room makes risky attacks particularly costly, and you can gradually wear Bruno down as long as you avoid his grabs.
For the second fight, I'd approach things differently. Your improved arsenal gives you more ways to deal damage, so using Hellchains, fire, and shotgun ammunition to shorten the encounter can be safer than dragging it out.
The distinction is simple: the first fight rewards patience and resource management, while the second rewards using the stronger abilities you've unlocked throughout the campaign.
Bruno Boss Rewards and Achievements
Defeating Bruno for the first time unlocks the Come to Daddy achievement. After the fight, collect Bruno's Scalpel from the remains on the floor before leaving. You can sell it later for additional coins.
Winning the rematch unlocks Come Here, Damn You, I Want to Touch You, another story-related achievement.
Bruno also takes the Genesis Configuration following the second encounter. This is part of the story rather than a failed objective, and you'll recover it as you continue.
Both boss achievements count toward the game's full completion requirements. Our Hellraiser Revival achievements guide covers all 44 achievements and the optional challenges needed for 1,000 Gamerscore.
Bruno has a large health pool in both encounters, but his attacks become much less threatening once you stop treating the fight as a damage race. Dodge his grabs, avoid wasting attacks during the blood transformation, and capitalize on the moments when he's vulnerable. Those three habits matter more than any individual weapon.