Hellraiser Revival All Codes
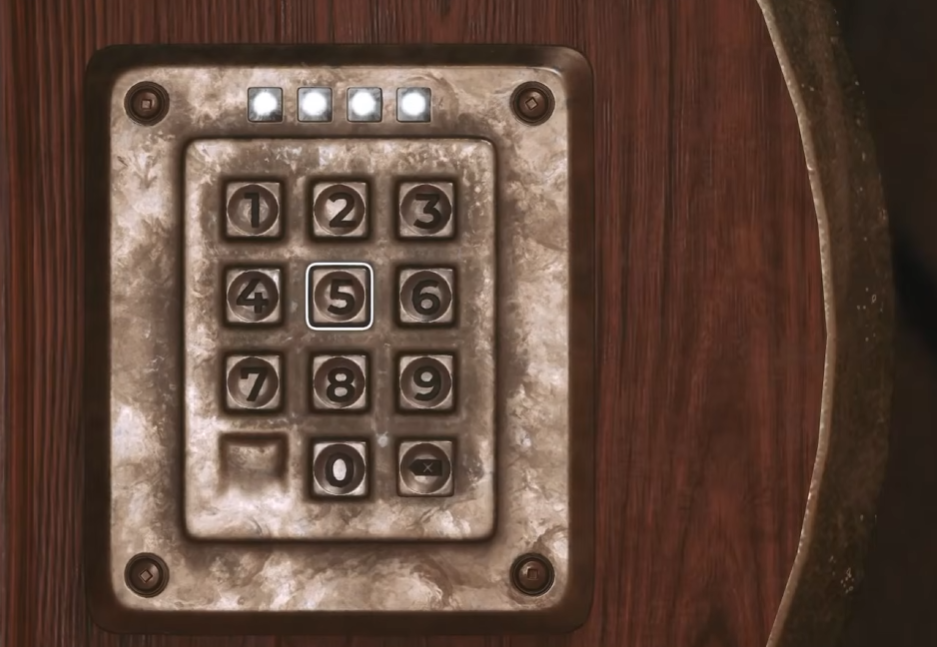
Hellraiser: Revival has ten known keypad combinations spread across its campaign, with codes needed to open locked doors, safes, cabinets, and lockers. Some contain basic supplies, while others hold weapon upgrades and additional inventory space that you can permanently miss. Below are all the codes in one place, followed by the locations and rewards worth prioritizing.
Jump To Section:
All 10 Codes
Codes With the Best Rewards
Other Code Locations and Clues
Codebreaker Achievement
Which Locks Need Codes?
All Codes in Hellraiser Revival
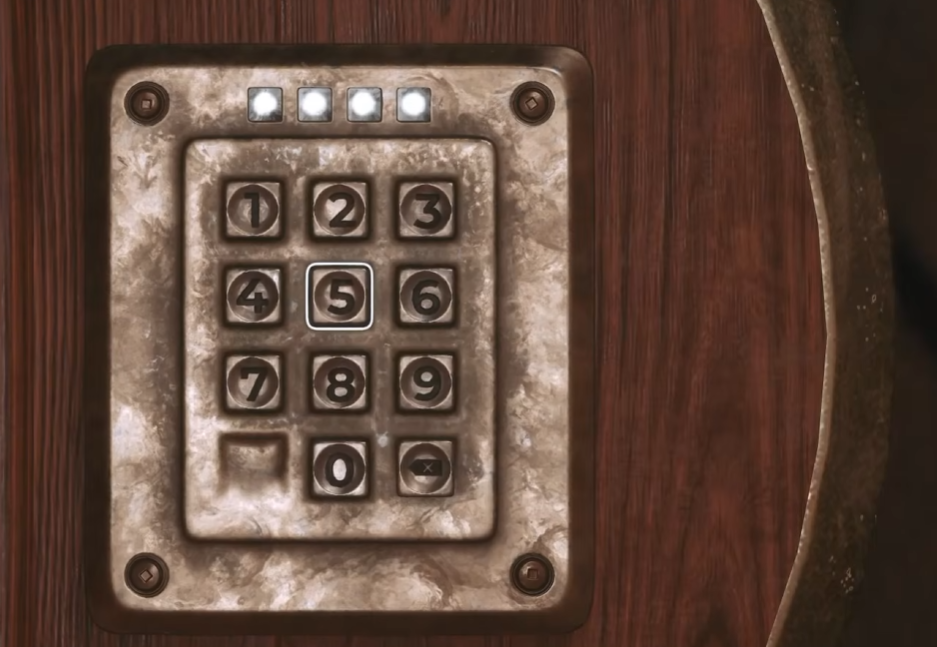
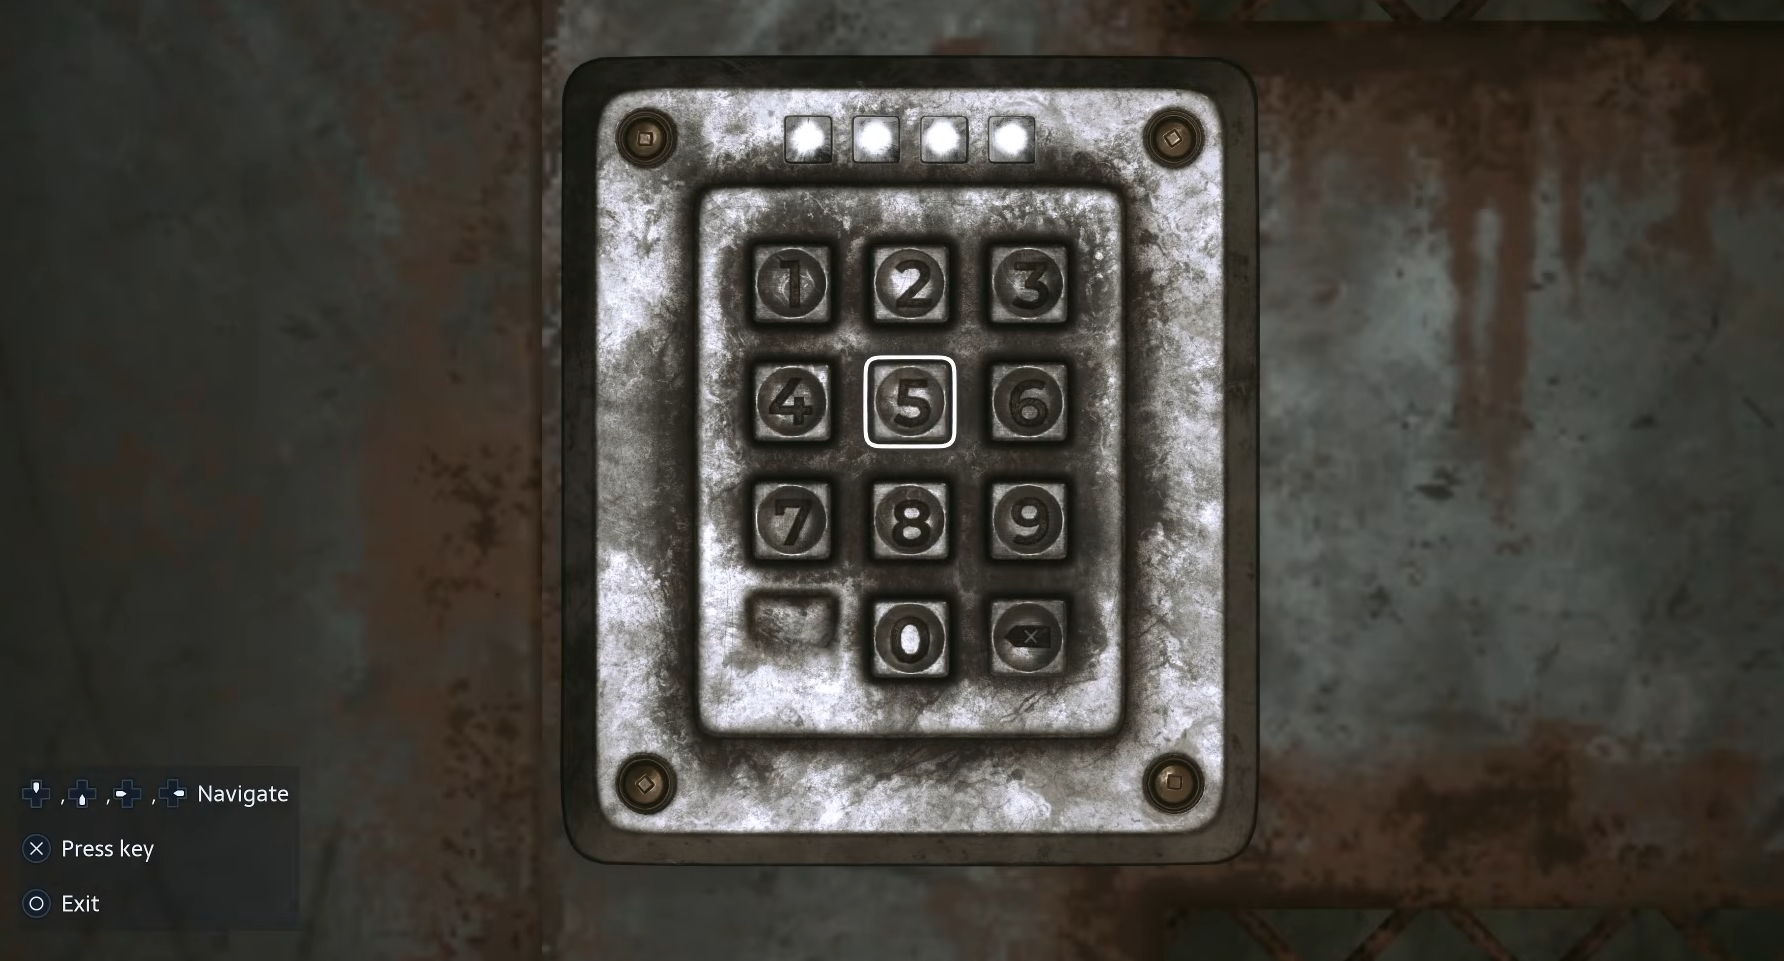
There are ten known four-digit keypad codes in Hellraiser: Revival. You can enter the combinations directly without collecting the notes, photographs, or other clues that reveal them.
Here is the complete list, arranged by the location where each code is used.
Red Hallway Cabinet: 9901 / 0199
Medical Room Locker: 9891
Graveyard House Safe: 9606
Bruno's Music Room: 1966
Snake Room Cabinet: 1952
Private Rooms Bathroom: 1923
Factory Blue Door: 1362
Laundry Room Locker: 8571
Break Room Locker: 2342
Sewer Cabinet: 1512
The first cabinet has two reported combinations, 9901 and 0199. Both appear in release-day walkthroughs, so try the other if your first attempt fails. The clue involves two dated paintings in the hallway.
Three of these combinations belong to traditional lockers. For more precise directions and a breakdown of their contents, see our Hellraiser Revival locker codes guide.
Which Hellraiser Revival Codes Have the Best Rewards?
Not every keypad is equally valuable. If you're collecting weapon attachments or trying to make the most of limited inventory space, five locations deserve particular attention.
These are the containers I would make a point of opening before advancing to the next major area.
Factory Blue Door – 1362
Location: Outside the factory during the Use the Elevator objective. Look for an opening in the wall near the gate requiring the Heart-Shaped Inset.
Rewards: Assault Rifle Heavy Lower Handguard, Inventory Capacity Upgrade, 52 Coins, Labyrinth Remnant, Assault Rifle Ammo, and a Bear Trap.
This is my highest-priority keypad because it contains both a firearm attachment and an inventory upgrade. The extra inventory capacity remains useful across the rest of the campaign, making the room worthwhile even if you don't regularly use the Assault Rifle.
Another advantage is that you can enter 1362 immediately. The environmental clues come from small statues found around the surrounding area, but you don't need to inspect them before opening the door.
Graveyard House Safe – 9606
Location: Inside the house in the southeastern part of the graveyard. Look beneath the vinyl print in the kitchen.
Rewards: Pistol Oversized Magazine Release upgrade and Pistol Ammo.
The safe contains an upgrade that improves the Pistol's reload speed. Since the Pistol is one of your earliest firearms, this is a useful improvement to pick up before leaving the graveyard.
Open the safe while you're already searching the house for the Shed Key. Returning through the graveyard becomes more dangerous after Charlotte begins patrolling, so there's little reason to postpone collecting the upgrade.
Snake Room Cabinet – 1952
Location: Inside the club's Snake Room, near the area where you obtain the Voyeur Ticket.
Rewards: SMG Laser Pointer upgrade and 12 Revolver Ammo.
The SMG attachment is the main reason to open this cabinet. It is also the fifth keypad lock you can encounter during the campaign, meaning opening it can complete the Codebreaker achievement if you've unlocked the previous four.
Private Rooms Bathroom – 1923
Location: Take the doorway immediately to your right after completing the Private Rooms door puzzle.
Rewards: Revolver Hollow Point Rounds upgrade, Machete, 7 SMG Ammo, and Gunpowder.
This cabinet gives you both a Revolver upgrade and a melee weapon. It's a worthwhile stop when you first enter the Private Rooms, especially if you want to collect firearm attachments without revisiting earlier saves.
Laundry Room Locker – 8571
Location: Near the library during the later campaign. Head into the room south of the library and use the eastern doorway to enter the laundry area.
Rewards: Revolver Overpressure Ammunition upgrade, Skullcrusher, 2 Bandages, 30 Assault Rifle Ammo, and Gunpowder.
The Laundry Room is one of the better supply stops because it includes healing items, ammunition, a melee weapon, and a Revolver attachment. If your inventory is already full, consider making room before opening it so you can take everything you need.
Other Lock Codes and Where to Enter Them
The remaining five keypads are primarily useful for ammunition, crafting supplies, and coins. Their clues are also worth understanding because the game uses several different methods to hide four-digit combinations.
Red Hallway Cabinet – 9901 / 0199
Find the cabinet in the painting-lined hallway after sneaking past Bruno and using his keycard. The dates on two paintings provide the combination. Contains early crafting materials and a Bandage.
Medical Room Locker – 9891
Located near the bloody bathtub shortly after acquiring the knife. The code is tattooed on the body in the bathtub. Contains 27 Coins, Gunpowder, and a Sawblade.
Bruno's Music Room – 1966
Located upstairs in Bruno's mansion. A nearby note instructs you to add 300 to the year 1666 found on a painting. Contains Pistol Ammo, Gunpowder, and Chemicals.
Break Room Locker – 2342
Found along Marlowe's route through the damaged rooms, near a ladder and television. Read the numbers on the broken walls from the farthest room toward the nearest. Contains 18 Revolver Ammo, 21 Assault Rifle Ammo, and 28 SMG Ammo.
Sewer Cabinet – 1512
Found during the later Marlowe hunt in the sewer area with electrified water. The clue references a high score written near the base of the cylindrical structure. Enter 1512 to open the nearby keypad cabinet.
The Sewer Cabinet is particularly worth mentioning because some code lists stop at nine combinations and omit it entirely. You can identify the correct area by the electrified water and the high-score clue.
For the other locations, the important distinction is that the numbers aren't always presented in the order you need to enter them. Bruno's code requires addition, the Break Room uses the order of damaged rooms, and the first hallway uses the dates from separate paintings.
How to Get the Codebreaker Achievement
Codebreaker requires opening five numerical keypad locks. You do not need to enter all ten codes, and the achievement can be completed relatively early in the campaign.
If you want to unlock it as soon as possible, use these five combinations:
1. Red Hallway: 9901 / 0199
2. Medical Room: 9891
3. Graveyard House: 9606
4. Bruno's Music Room: 1966
5. Snake Room: 1952
These are the first five keypad locks available along the usual campaign route. Once you've opened all five, Codebreaker should unlock without needing to wait for the factory or later areas.
Opening additional keypads isn't required for Codebreaker, but several contain weapon upgrades that are worth collecting independently. If you're working toward 100% completion, our Hellraiser Revival achievements guide covers the other optional objectives.
Do All Locked Containers Need a Code?
No. Hellraiser: Revival uses different locking systems, and four-digit codes only work on containers with numerical keypads.
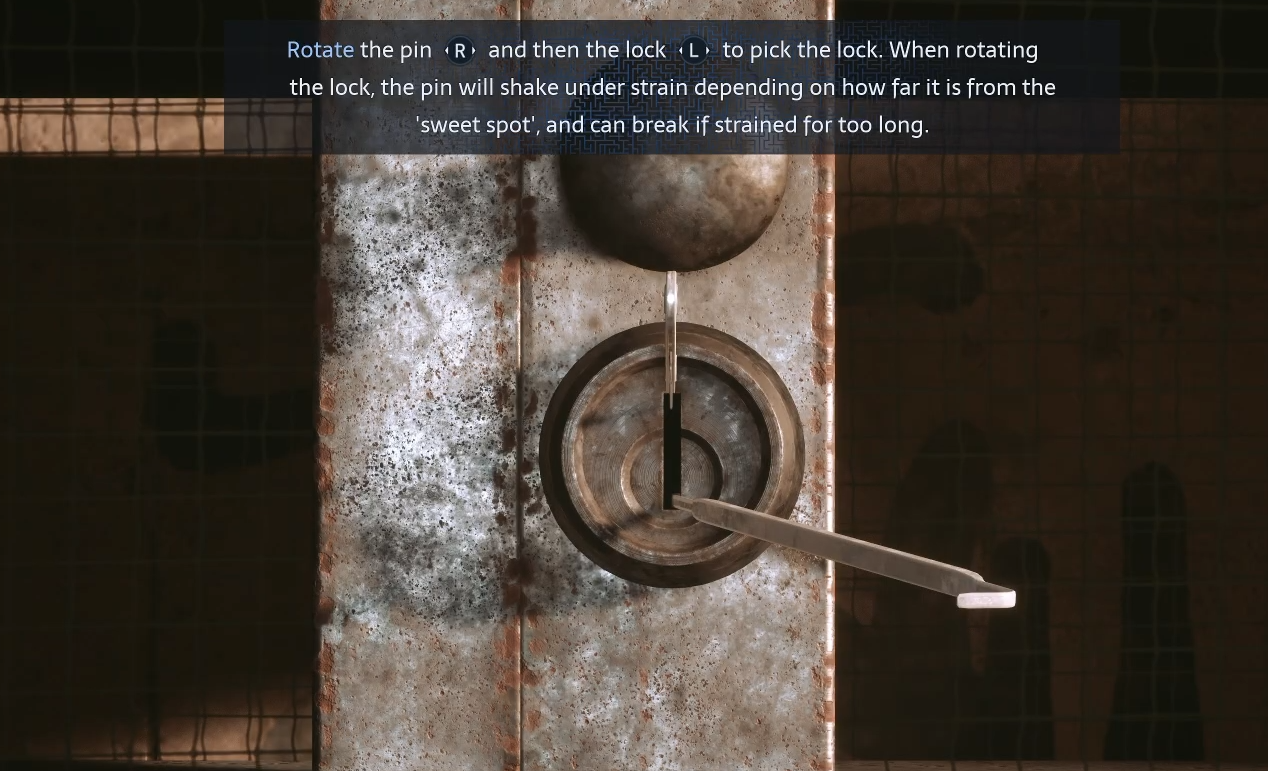
Ordinary padlocked cabinets require Lockpicks instead. These use a separate minigame where you adjust a pin's position and test the lock's resistance. You can read our Hellraiser Revival lockpicking guide for the controls and method.
If you need more tools, our Lockpick locations guide covers the early pickups, crafting recipe, and merchant prices.
Some other doors require specific story items or puzzle solutions rather than codes. If there's no numerical keypad attached to the object, none of the combinations above will open it.
For a full completion run, I would open every keypad containing a permanent upgrade rather than stopping after Codebreaker. The achievement only requires five locks, but the equipment behind several later doors can still make a meaningful difference.