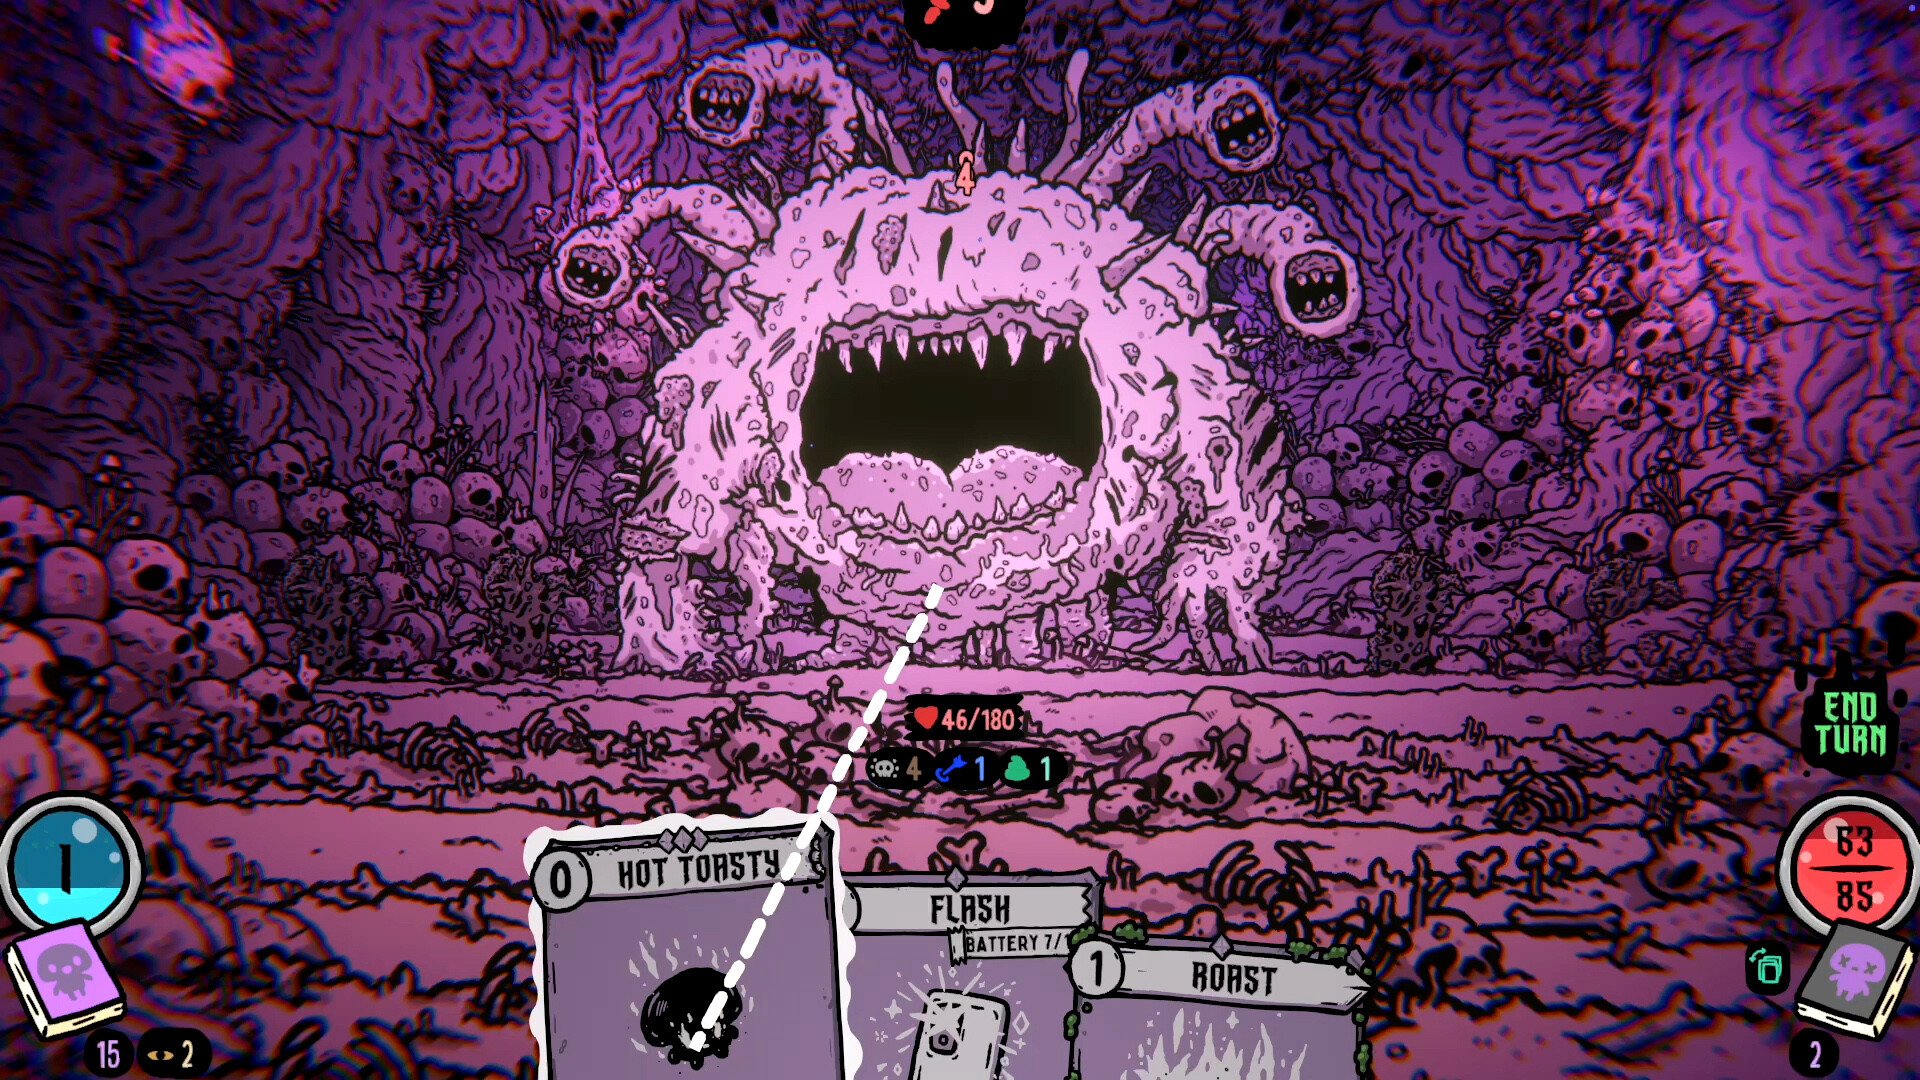
Shroom and Gloom gives you enough cards that almost any good run eventually starts presenting ridiculous combo possibilities, but the strongest builds have one thing in common: killing an enemy does more than simply remove that enemy. The kill generates something else you can immediately use.
That is why I would build around Fatal effects whenever the right cards appear. Combining a hard-hitting finisher with Fatal-based energy, card draw, food, and concentrated upgrades can create turns where the first kill effectively pays for the next one. Your Explore deck then has one job: make that engine more reliable without wasting so much health or stamina that you die before it comes online.
Jump To Section:
Best Shroom and Gloom Build
Build Around Fatal Effects
Prioritize Grand Maul and Thirsty Mace
Unstoppable Makes the Build Much Better
Use Food as Your Sustain Engine
Only Upgrade a Few Core Cards
Keep the Combat Deck Small
Build the Explore Deck Around Your Combat Deck
Don't Force Growing Confidence
Best Build Priority Order
What to Do Without the Perfect Cards
The Best Shroom and Gloom Build Uses Fatal Kills to Keep the Turn Going
The strongest overall Shroom and Gloom build I would aim for is a compact Fatal-focused Combat deck supported by card draw, energy generation, food, and a small number of heavily upgraded attacks.
The basic engine looks like this: weaken an enemy, finish it with the correct Fatal attack, trigger whatever bonuses are attached to that kill, and use the resulting energy, cards, or food to continue the turn.
Grand Maul, Thirsty Mace, and Unstoppable are particularly strong pieces when you can assemble the relevant Fatal interactions. Thirsty Mace can refund energy after landing a Fatal hit, while Unstoppable rewards Fatal activations with additional card draw. Grand Maul can become an especially strong centerpiece when you reach the Fatal-focused version of the card that interacts with your other Fatal effects.
The reason I prefer this over simply stacking the largest damage number possible is that damage alone eventually ends your turn. A kill that gives you resources can extend it.
If one enemy dies and you finish with less energy and fewer cards than you started with, you are winning the fight normally. If that kill draws another useful card and helps refund the energy needed to play it, the deck starts becoming an engine.
That is the difference I would build around.
Fatal Effects Get Better When You Stack Different Rewards
Fatal means you care about which card actually lands the killing blow, so do not simply throw attacks at enemies until something dies.
Set the kill up first.
If you have a weak enemy with 20 health remaining and a high-value Fatal attack capable of dealing 25, I would avoid wasting that enemy by killing it with some random smaller attack. Bring enemies into range of the card whose Fatal reward you actually want, then let that card finish the job.
This becomes considerably stronger when different Fatal effects solve different parts of a turn.
One effect can help produce food. Another can restore energy. Another can improve an attack. Unstoppable can add card draw to the sequence. Rather than having four unrelated bonuses, you now have several pieces responding to the same event: something died.
That creates a positive feedback loop. Damage generates a kill, the kill generates resources, and those resources generate more damage.
I would therefore value Fatal cards according to what happens after the enemy dies, not merely their printed damage. A slightly weaker attack that refunds resources on a kill can ultimately contribute considerably more damage to the entire turn than a larger attack that leaves you at zero energy afterward.
Grand Maul and Thirsty Mace Are Excellent Fatal Build Targets
If the run offers you Grand Maul and Thirsty Mace, I would immediately start looking for ways to turn them into the core of a Fatal build.
Thirsty Mace is particularly useful because its Fatal effect can give you 2 energy. That means its energy cost becomes much less important whenever it secures the kill.
This changes how you should use the card. Do not necessarily swing Thirsty Mace at the healthiest enemy just because it deals good damage. I would rather use another card to bring an enemy into lethal range and then finish with Thirsty Mace so the kill helps fund whatever comes next.
Grand Maul is the more explosive side of the setup, particularly once you get access to its stronger Fatal interactions. Player builds have used Grand Maul alongside multiple Fatal effects to produce extremely large chains, so it is one of the first cards I would consider turning into a dedicated finisher.
You do not need three copies or a completely broken infinite sequence for the concept to work. The important part is having one attack you trust to secure Fatal hits and then surrounding it with effects that make those kills increasingly profitable.
I would rather have one terrifying Grand Maul that I have repeatedly improved than five mediocre attacks splitting all of my upgrade opportunities.
Unstoppable Is One of the Best Foresights for a Fatal Build
Unstoppable fits the build because it helps solve the second resource problem created by long turns: cards.
Energy generation is only useful if you still have something worthwhile to spend the energy on. Card draw is only useful if you can afford to play what you draw. A strong build needs both sides working together.
Unstoppable draws a card when an If Fatal effect triggers, which means the Fatal kill you already wanted can also replace or extend your hand.
Combine that with something like Thirsty Mace restoring energy and the kill can potentially solve both problems simultaneously: more resources to spend and another card to spend them on.
This is where the build begins to snowball.
I would still avoid stuffing the deck with every Fatal card simply because Unstoppable exists. The extra draw is valuable specifically because you want it to find another good card. If the Combat deck contains twenty mediocre attacks, drawing another card after a kill is much less exciting.
Keep the underlying deck strong first. Unstoppable then increases how quickly you cycle through that quality.
Food Turns an Aggressive Fatal Build Into a Sustainable One
Going all-in on damage can produce impressive fights and terrible runs. Shroom and Gloom constantly asks you to pay health elsewhere, so I would make food and recovery the defensive half of this build rather than trying to solve everything with even more attacks.
Kills can produce edible rewards depending on your cards and effects, and eating can recover health or activate additional synergies. That lets the same combat engine responsible for killing enemies help repair damage afterward.
I especially like food here because it keeps the deck's objective coherent. I am not building an offensive deck and then adding an unrelated defensive package. I am killing enemies, turning successful kills into more value, and using some of that value to sustain the run.
Do not automatically eat everything the moment it appears, though.
If you desperately need health, eat. If you are already healthy and have an upcoming use for food, preserving some can be significantly better. Shops and Soup Pot interactions can make stored food valuable outside the immediate fight, so ending combat with useful food remaining can be part of the strategy rather than wasted healing.
I would think of food as a reserve created by successful combat. Spend that reserve when HP becomes the bottleneck; preserve some when health is comfortable and another interaction can extract more value from it.
Upgrade Three to Five Important Cards Instead of Everything
The biggest mistake I would avoid with this build is distributing upgrades evenly across the Combat deck.
You want a hierarchy.
Your primary Fatal finisher should get the best damage improvements because reaching lethal thresholds is what activates the engine. A secondary attack can handle setup or provide another useful Fatal reward. Your remaining important slots should support draw, energy, food, or whatever utility the deck currently lacks.
Community players who have taken Fatal-heavy builds through the toughest encounters have independently arrived at a similar strategy: be selective about cards and concentrate camp upgrades into only a handful of important ones.
That makes sense mechanically. Imagine upgrading five different attacks from mediocre to slightly better. You still need to draw the right one at the right time. Put the same investment into your best finisher and suddenly enemies enter its Fatal range much earlier.
That is especially important for Thirsty Mace. Increasing its damage does not only make Thirsty Mace stronger. It expands the range of enemy HP totals where you can use it to kill something and recover energy.
The same logic applies to any Fatal effect you depend on. Improving the card also improves how easily you can activate the effect attached to the kill.
Do Not Take a Card After Every Battle
A build is defined just as much by what you reject as what you take.
If I already have a strong Fatal finisher, energy support, draw, and enough recovery, another ordinary attack needs a very good reason to enter the deck.
Every additional card reduces how consistently I draw the pieces I actually built around.
I would be especially aggressive about rejecting redundant attacks once the build starts functioning. Instead, look for cards that provide a capability you currently lack: better setup, more reliable Fatal effects, draw, energy, food, an answer to statuses, or a meaningful improvement to your existing engine.
Card removal is valuable for the same reason. If an early attack has become dramatically worse than everything else in the deck, removing it effectively increases the frequency with which you draw your upgraded cards.
This is also why the best build cannot simply be a list of ten cards you should collect. Getting all ten would sometimes be worse than owning six of them and drawing those six constantly.
Our Shroom and Gloom tips guide goes deeper into deck thinning and general run management, but the short version for this build is simple: once your engine works, make every new card justify interfering with it.
Your Explore Deck Should Feed Upgrades Into the Fatal Build
I would not try to create some elaborate second strategy in the Explore deck. The Explore deck should make the Combat deck better while getting you through camps without destroying your health.
Card modification and removal opportunities are particularly valuable because they directly increase consistency. If you can strengthen the attack responsible for landing your Fatal hits, that upgrade affects far more than the number printed on the card.
It can make more enemies immediately killable, which activates Fatal effects earlier, which can produce additional energy or cards, which may allow another kill during the same turn.
That is multiplicative value from what initially looks like a normal damage increase.
I would therefore prioritize Explore choices roughly like this: important Combat upgrades first, removal of genuinely weak cards when available, required progression tools, useful recovery, and optional rewards afterward.
Warmth also matters because camp greed can quietly erase everything your combat build accomplished. Gloom becomes increasingly dangerous while you remain at camp, and resting or continuing to squeeze value from an area can leave you entering the next fight damaged.
Your deck being strong does not mean every campsite should be fully exploited.
If I have already received the upgrade I came for and staying longer means taking a large chunk of avoidable Gloom damage, I am perfectly happy leaving value behind. A powerful Fatal engine works much better when the person holding the cards is still alive.
Growing Confidence Is Useful, but I Wouldn't Force It Into the Best Build
Growing Confidence can increase your Max HP whenever you add a permanent card to your deck, but that creates a strange conflict with what this particular build wants.
The Fatal setup benefits heavily from consistency. Growing Confidence rewards permanent card additions. Those goals can work together when the new card is genuinely useful, but they pull against each other when you start taking mediocre cards simply for another Max HP trigger.
I would therefore treat Growing Confidence as a bonus rather than the engine of this build.
If I find a fantastic permanent card, I happily take it and receive the extra Max HP. If I find something that makes my Fatal chain less consistent, a small health increase is not enough to make me want it.
Our Shroom and Gloom Growing Confidence guide explains the permanent-card trigger in more detail, including why cards added directly to your hand are treated differently.
For this specific build, however, I would prefer a Foresight such as Unstoppable when the choice is available and the rest of the deck is already producing Fatal kills consistently. Drawing from the thing my build already wants to do is cleaner synergy than changing my drafting decisions just to chase Max HP.
Build the Fatal Setup in This Priority Order
I would not attempt to assemble the finished combo from the opening room. Build it in stages so you never sacrifice the current run for a theoretical endgame deck.
First, establish reliable damage. You need to kill ordinary enemies before any clever synergy matters.
Second, identify your best Fatal attack. Thirsty Mace is excellent when available because a killing blow can restore energy, while Grand Maul becomes a major target when your run opens its stronger Fatal interactions.
Third, start concentrating upgrades. Your best finisher should become strong enough that you can deliberately put enemies into its lethal range rather than hoping the numbers line up.
Fourth, solve sustain. Take useful food and healing interactions so ordinary chip damage does not eventually end an otherwise excellent run.
Fifth, add draw and Fatal synergy such as Unstoppable. Once your kills can refund resources and extend your hand, individual Fatal attacks start connecting into longer turns.
Finally, remove or reject cards that do not participate in the finished plan.
I would summarize the priority as damage first, then Fatal payoff, then concentrated upgrades, sustain, draw and energy, and finally aggressive deck cleanup.
Do it in that order and the deck remains playable while you are constructing it instead of being terrible for half the run while you wait for one missing combo piece.
Don't Throw Away a Good Run Because Grand Maul Never Appears
The most important qualification to any Shroom and Gloom “best build” is that this is still a roguelike. You are not guaranteed the exact cards you want.
I would never pass several excellent upgrades because I decided before the run that Grand Maul absolutely has to appear.
The actual core of this build is not one named card. It is resource-positive killing.
You want a reliable finisher. You want kills to produce additional value. You want enough energy and draw to continue playing after those kills. You want food or another recovery engine so the build survives across multiple encounters. And you want the Explore deck improving those pieces instead of distracting from them.
If Grand Maul appears, great. If Thirsty Mace appears, the Fatal energy refund gives you an excellent direction. If Unstoppable becomes available after you already have multiple valuable Fatal effects, that can turn the deck into something much more explosive.
If none of those exact pieces show up, reproduce their jobs with whatever the run gives you.
That is ultimately what I consider the best Shroom and Gloom build: not simply the deck capable of producing the largest screenshot-worthy damage number, but a compact deck where successful kills generate enough damage, energy, cards, and recovery to help create the next successful kill.
Once that loop starts working, stop adding things that do not improve it. Upgrade the cards doing the actual work, let the Explore deck support them, preserve enough food to recover, and use weaker enemies as opportunities to trigger your best Fatal effects rather than obstacles you need to remove as quickly as possible.
When a mushroom dying becomes the thing that gives you the resources to kill another mushroom, the build is doing exactly what you want.