Graveyard Keeper 2 Zombies Guide
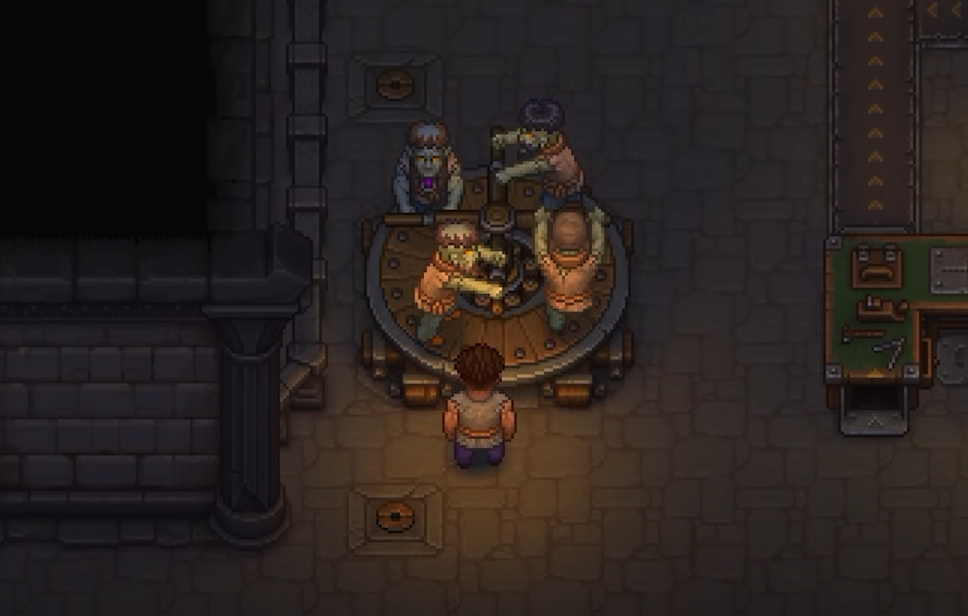
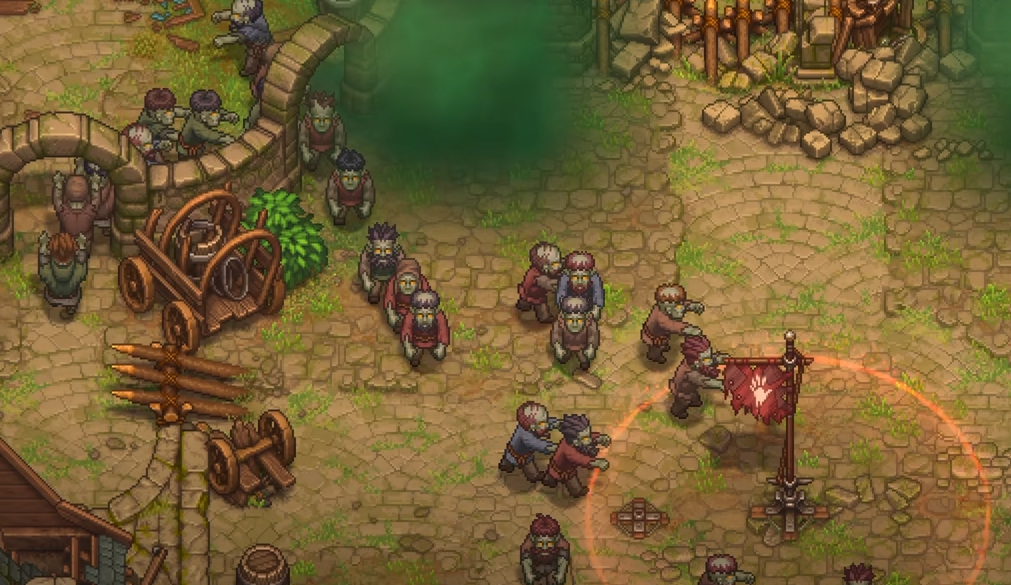
Zombies in Graveyard Keeper 2 are not just workers you drop beside a machine and forget about. A good zombie setup has three parts working together: the zombie needs enough Mastery for the job, the workstation needs a crafting queue, and somebody needs to keep materials moving between storage and production. Once those pieces are in place, zombies can take over crafting, farming, mining, writing, brewing, transport, and other repetitive work while you focus on progression elsewhere.
Jump To Section:
How to Get Zombies
What Makes a Good Worker Zombie
Tools and Mastery
How Zombie Automation Works
Zombie Supplier Stations
Zombie Perks
Zombie Farming
Best Jobs for Your Zombies
How to Get Zombies in Graveyard Keeper 2
Your first worker zombies come through progression rather than corpse crafting alone. The Plague Doctor gives you two zombies fairly early in the story, while another three can be obtained from Gunter the Astrologer after the first battle and some follow-up errands.
You can also create additional workers by resurrecting corpses in the morgue. That's where zombie management starts becoming more interesting, because not every corpse has the same long-term value as a worker.
Instead of turning every available body into a zombie, it's worth separating corpses meant for burial from corpses worth developing into permanent workers.
Red Skulls Matter More for Workers Than White Skulls
Burial and zombie quality push you toward different corpse priorities. White Skulls are valuable when you're trying to improve graveyard quality, while worker zombies benefit from Red Skulls because those Red Skulls determine how many perks that zombie can ultimately unlock.
Early Bronze Zombie Collars are capped at 5 Red Skulls, so there isn't much value in building an early worker far beyond what its current collar can support.
A better long-term habit is to treat useful Red Skull body parts as worker upgrades. Remove them from corpses you plan to bury, save them, and later insert them into a corpse you actually want to resurrect.
Already made the zombie? You aren't permanently stuck with its original body. Zombies can be returned to the Autopsy Table and have organs or other body parts replaced. Better Zombie Collars can also be equipped later through the zombie's Character interface.
That means your first zombies don't have to be perfect. You can improve the workers that become important instead of waiting indefinitely for an ideal corpse.
A Zombie Needs the Right Tool to Reach Higher Mastery
Most zombie jobs are gated by the same idea: the recipe or task expects a certain Mastery level, and your zombie needs enough of that stat to perform it.
Tools provide those stats. Equip them by inspecting the zombie and opening its Character tab.
Zombie Tool Roles
Axe — Crafting and Woodcutting
Hammer — Metallurgy
Shovel — Farming
Pickaxe — Mining
Fishing Rod — Fishing
Higher-tier tools provide better stats, which is why a zombie that can handle basic bronze production may fail when you queue a more advanced recipe later. Before assuming the automation is broken, inspect the worker and compare its Mastery against what the recipe requires.
Transporters are the exception. Supplier and porter jobs don't depend on the same production stats, so these are excellent assignments for zombies with poor Red Skull potential or weak tools.
If you're also building out Fishing Mastery for yourself, the Graveyard Keeper 2 fishing guide covers rods, bait, fish requirements, and the player-side fishing progression separately.
A Zombie at a Workstation Is Only Half an Automation Setup
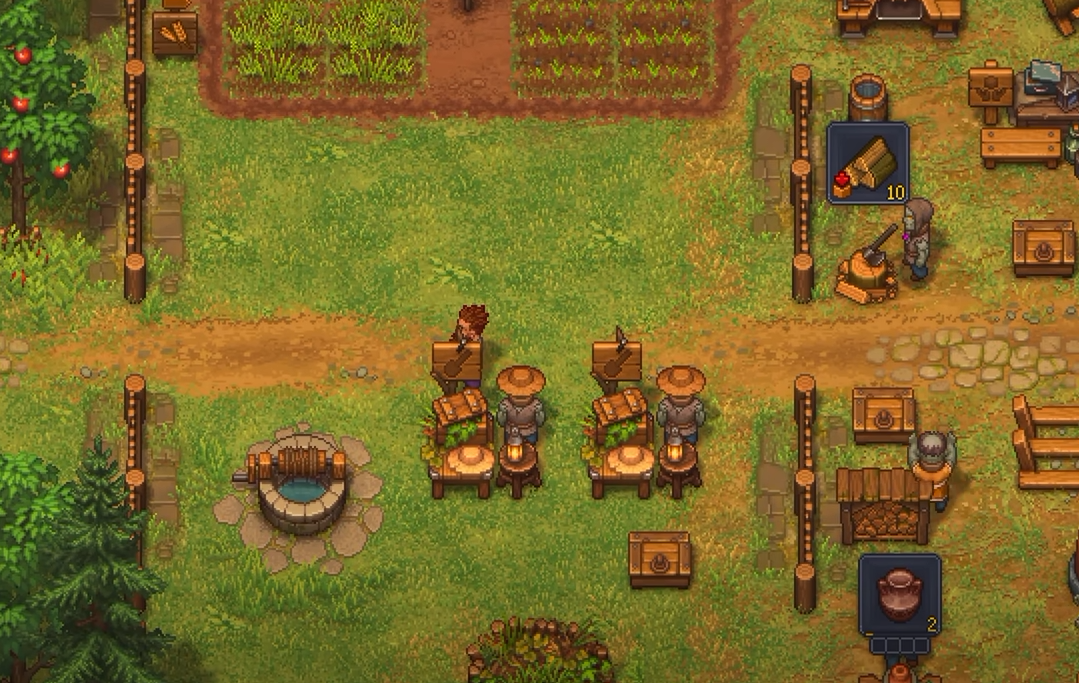
To assign a worker, physically carry the zombie to the workstation and place it there. You can fast travel while carrying zombies, which saves a lot of walking when you're redistributing workers between areas.
Once the zombie is stationed, open that workstation and queue the items you want produced. Long queues are much better for automation because the worker can continue crafting while you're away or sleeping.
But a queue does not create materials out of nowhere.
If the required inputs are already available, you can manually supply the station with the Put interaction. That works for short jobs, but it defeats most of the point of zombie automation if you're constantly running materials around yourself.
The stronger setup is to split production into two roles: one zombie makes things, while another handles logistics.
If a Zombie Won't Work
Check that a zombie is actually assigned to the workstation.
Check that the recipe has been added to the queue.
Check that the worker has enough Mastery for that recipe.
Check that the required materials exist in usable nearby storage.
Check that a Supplier zombie can physically reach the workstation and chest.
Check that finished products aren't blocked by full storage.
The Supplier Zombie Is What Turns Crafting Into a Real Production Line
A Zombie Supplier Station gives one zombie the courier job. Instead of producing items itself, that worker moves materials between nearby chests and the other zombie-operated stations in its work zone.
For example, you can place rough wood in storage, queue Wooden Planks at a Woodworking Workbench, and leave a crafting zombie there. The Supplier zombie takes the input to the workstation, the crafting zombie processes it, and the Supplier carries the finished planks back into storage.
That's the point where zombies stop feeling like slightly slower versions of the player and start functioning as an actual production network.
The catch is geography. Supplier and porter zombies operate within defined work zones rather than across your entire base. Separate areas such as the yard, garden, vineyard, brewery, science lab, and kitchen need their own logistics.
A kitchen porter, for example, won't simply wander out to the garden and retrieve whatever crops it needs. Goods still have to cross those zone boundaries somehow, which can leave you responsible for moving bulk resources between areas.
Chest management matters too. A perfect production chain still stops if its output chest fills up, the input chest runs dry, or furniture blocks the Supplier's path.
Train Zombies for Jobs You Actually Plan to Keep Them Doing
Zombies gain Red, Green, or Blue Gems according to the work they're performing. Once enough experience has accumulated, those Gems can be spent on zombie perks.
The first perk becomes available at 50 Gems. Some perks raise a specific Mastery stat by +1, which can be enough to move a worker into the next tier of recipes. Others build much deeper specialization; the woodworking path, for example, can eventually provide a substantial bonus to wood-related work.
This is why constantly rotating every strong zombie through completely unrelated jobs isn't always ideal. A worker that's already building experience toward a useful specialization has more long-term value staying in that role.
I would use your best Red Skull zombies for production paths with meaningful Mastery requirements, then put weaker bodies on transport duty where those extra perk slots aren't being wasted.
Zombie Farming Works Differently From Normal Crafting
Farming is one of the strongest places to use zombies because the system can become largely self-sustaining once it's set up correctly.
Start by equipping the farmer zombie with a Shovel, then build a Gardener Stand through the garden blueprint system. The documented construction cost is 4 Wooden Planks, 2 Bronze Details, and 6 Bronze Nails.
Placing the zombie at the Gardener Stand isn't enough by itself. Crop selection comes from Tablets built through the second tab of the garden blueprint table.
Each Tablet tells the worker what belongs in that row. A Carrot Tablet makes that row a carrot job, while a Wheat Tablet assigns wheat. Keep the garden chests supplied with the appropriate seeds and the zombie can handle planting, harvesting, and depositing the resulting crops back into storage.
The Tablets themselves cost nothing to place and can be replaced when you want to change production, although the existing row needs to be harvested first if crops are still growing there.
That's a much better use of zombie labor than asking yourself to manually plant the same bulk crop every few days.
Treat the Vineyard as Its Own Mini-Factory
Vineyard automation follows the same basic farming logic, but its logistics become more important because production continues inside the Vineyard Basement.
You generally don't need a large number of zombies working the outdoor vineyard itself. The heavier staffing comes from the processing side, where grapes and hops eventually feed wine and brewing production.
A Porter Station can move those harvested materials into the Vineyard area, while separate workers handle the relevant processing stations.
This is another reason I wouldn't spend every high-quality zombie on raw gathering. Once you start chaining harvesting into processing, the workers inside your production buildings can become more valuable than adding another body to the field.
Build Zombie Teams Around Bottlenecks, Not Around Having One Everywhere
Zombies can eventually work a very large portion of Graveyard Keeper 2's economy. Documented stations include woodworking equipment, anvils, the Potter's Wheel, textile stations, the Writing Desk, Printing Press, Jewelry Table, formulation equipment, kitchen stations, the Gardener Stand, brewing equipment, and more. Later progression expands that into areas such as the sawmill, mining, the factory, and zombie soldiers.
That does not mean every workstation needs a permanent zombie.
I would automate the jobs you repeat constantly first. Wood processing, common metallurgy, staple crops, and other bulk inputs save more time than assigning your best worker to something you craft once every several days.
Writing is a good example of a station that can eventually benefit from automation but may not deserve an early permanent worker unless you're producing writing materials in volume. Faith, Stories, prayers, and other church progression all have their own bottlenecks, so blindly automating the workstation doesn't necessarily speed up the resource that is actually holding you back. My Graveyard Keeper 2 Faith guide covers that side of progression.
I'd also avoid using high-quality zombies as glorified couriers. Supplier jobs don't require the same Mastery investment, so reserve weak workers for logistics and put your high-Red-Skull zombies where tools, perks, and specialization actually change what they can produce.
Once the setup is working, the strongest zombie network is not the one with the most workers. It's the one where every repeated job has enough Mastery, every queue stays supplied, outputs have somewhere to go, and your good zombies are doing work that actually benefits from being good.